Fork, clone and branch
This tutorial has an accompanying GitHub repository called carbon-tutorial-web-components that we’ll use as a starting point for each step. If you haven’t forked and cloned that repository yet, and haven’t added the upstream remote, go ahead and do so by following the [step 1 instructions](previous step.
Then, start the app:
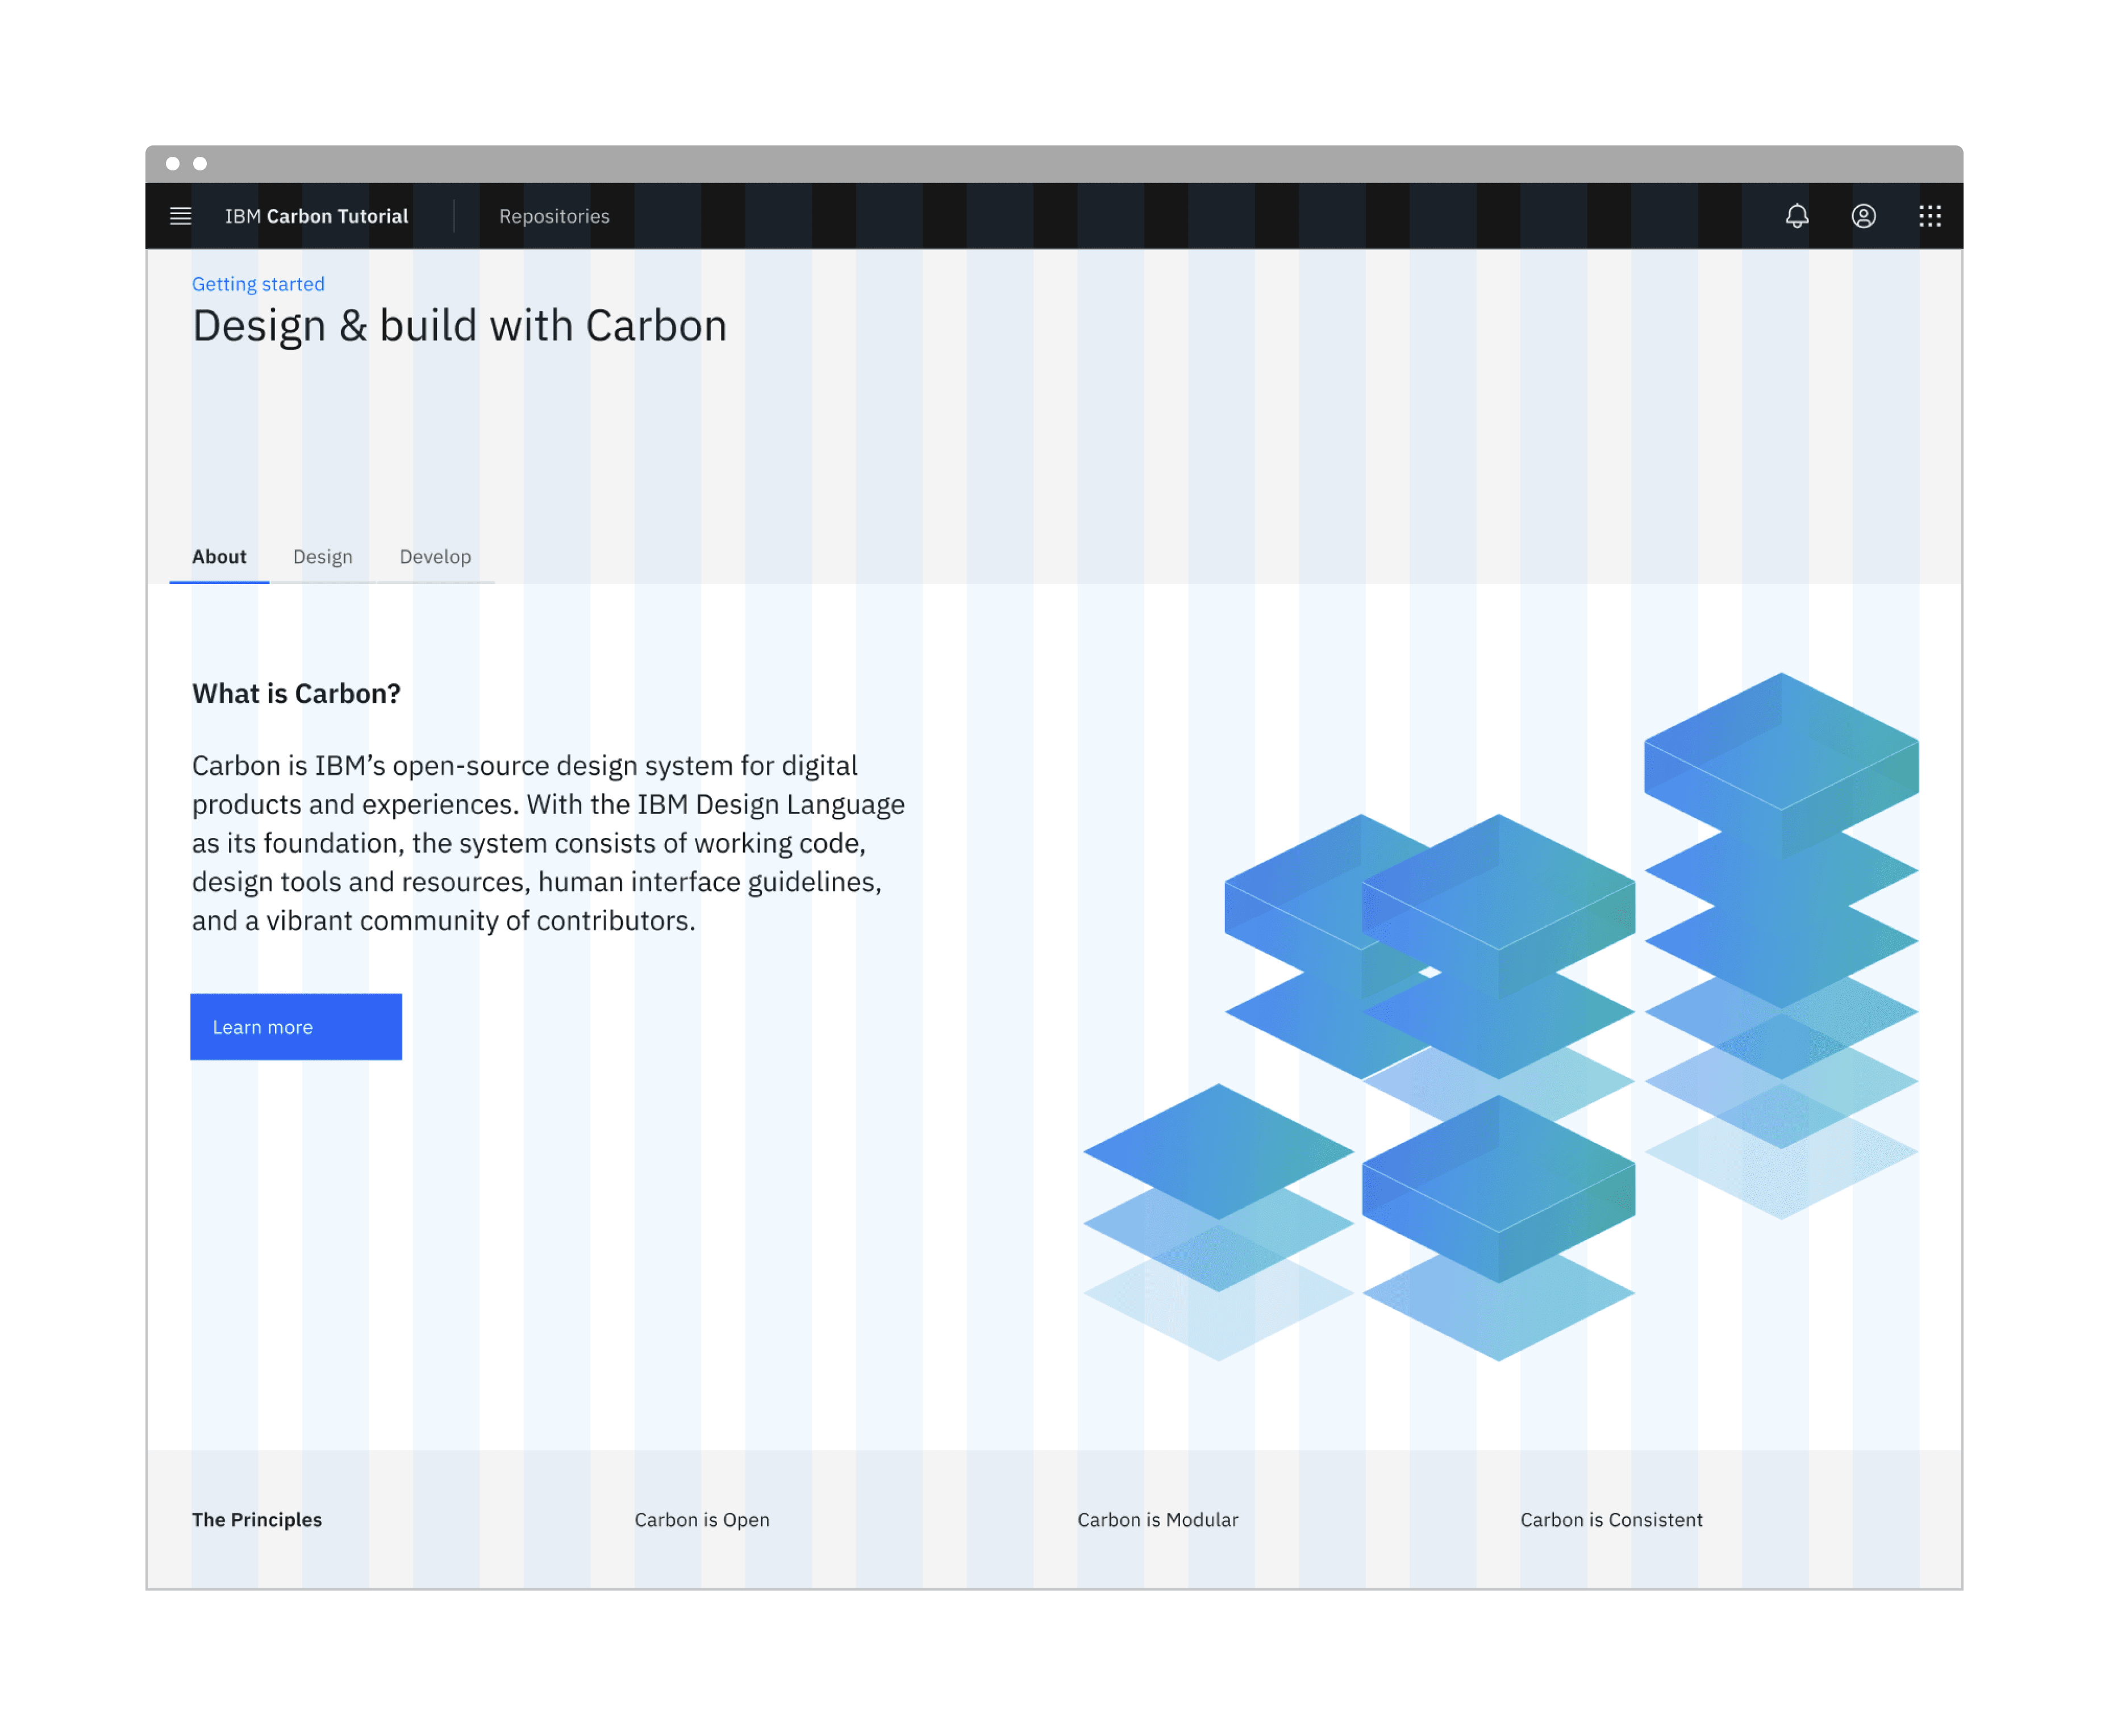
You should see something similar to where the previous step left off.
Add landing page grid
Let’s add our grid elements to our LandingPage page component.
In order to use the grid, we need to wrap everything in a <cds-grid>. Because we’re building with the new CSS Grid, we won’t be using typical rows. We’ll use a combination of <cds-column> and nested subgrids to create our layout.
The CSS Grid is a 16 column grid. We will specify the span of a <cds-column> using the sm, md, and lg attributes. For example, <cds-column sm="4" md="8" lg="8"/> means the column will span 4/4 columns at the small breakpoint, 8/8 columns at the medium breakpoint, 8/16 columns at the large breakpoint.
First in main.js we need to add the grid component.
Then in index.html replace LANDING PAGE with
Then import the grid styles in style.scss.
We’ve included the designs for this tutorial app in the design.figma file found as a top-level file in the carbon-tutorial repository. But, if you don’t have Figma installed and available to inspect the design, we’ll provide screenshots.
Landing page grid
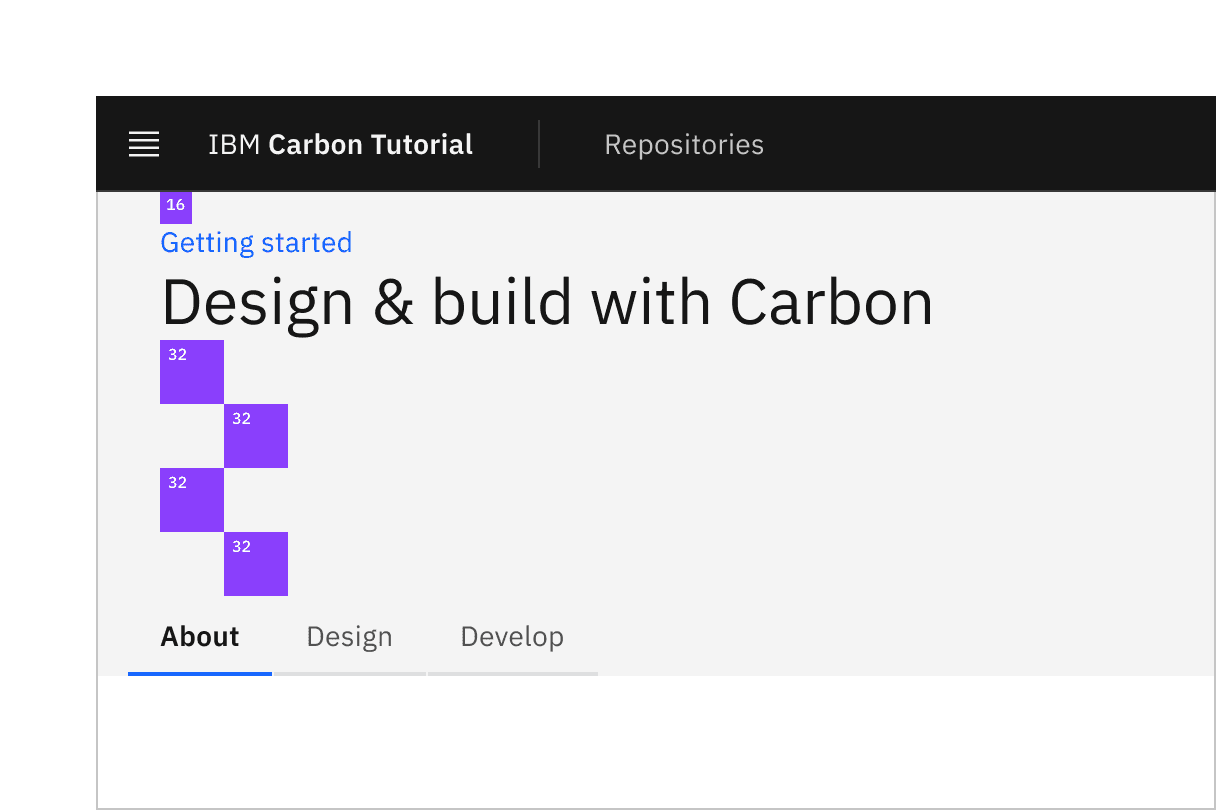
Banner vertical spacing
In our first row we'll need a Breadcrumb component. First, let's import the components we need.
We can now add our component to the first row, replace the content of the div with class page-landing__banner with:
The tabs come next going inside page-landing__r2 and before <cds-grid>.
Each of the cds-tab components has a target attribute. This is used to identify the content visible when that tab is selected.
Wrap the subgrid element immediately after the closing </cds-tabs> with the following. This is where we will place our first tab panel and a containing element for all three panels.
Replace the content of the first column 7/16 with:
The second column content 8/16 is replaced with:
The tab-illo.png image is already located in the public folder.
After the closing </div> of id="panel-about", inside the new page-landing__tab-panels we add two further tab panels. This one
and
Here we replace all four columns entirely adding some offsets for medium and large column sizes after the first column.
Second row
The styling for the second row adds further layout and typography changes. It also positions the image and prevents it from causing horizontal overflow. In order to make use of the Carbon SCSS mixin breakpoint-down we also add the breakpoint import to our list of @use near the top of the file.
Ta-da! You should see a step 2 complete landing page! Now we can move on to the repo page.
Add a minimal amount of styling to move our content away from the edge of the page in style.scss.
We need to include this file in repositories.html which we can do by adding the following next to the script tag that includes main.js.
Next we add the table header and column titles to replace the text REPOSITORIES PAGE
The table header should already be visible on the repositories page.
Now we can add the rows replacing Table body goes here with:
Using HTML templates
With the app running we can see that the repositories page now hosts a table. However, it is not realistic to populate a table with hard coded data way so we’ll refactor to build the table from data.
This involves the use of HTML Templates, take a look at W3 Schools if you need a quick refresh.
In index.html remove the contents of the <cds-table-body> tag and return it to Table body goes here.
Then before the end of the html tag and after the body closing tag add the following to define our table row template.
Next in repos.js add the following data that we will use to populate the table rows.
Next we create the function updateTable and make a call to it to populate add our rows.
Verify that the table rows are being generated by changing the data and running the app.
Congratulations! We've now created our static repo page!